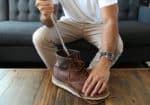

Logger boots are great industrial work boots!
But one complaint that I always hear from my friends who wear logger boots regularly is that they are troubled with the high heels on these boots that often cause heel and calf pain at the end of the day.
Also, wearing high heels everyday on a regular basis can cause spinal problems in the future. Therefore, I have come up with a solution to enjoy the benefits of logger boots by exempting the troubles of high heels?
Ask how?
This article will guide you on how to trim the heels on logger boots effortlessly with minimum tools so that wearing logger boots will not hurt your feet anymore!
If the outsoles are separable from the uppers of the boots, using a knife you can take them out and paste a new outsole with shorter heels with the help of a shoe glue!
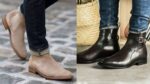
How tall is the heel on logger boots?
Logger boots generally have 1″ to 2″ high heels. While the 1″ heel won’t be a problem to anyone, the 2″ heel can be annoying to some and can also end you up in some foot problems sooner or later in life.
Health implications of wearing high heels:
While wearing high heels occasionally should not be a problem anyway but wearing it everyday will certainly carry along some foot and back problems for you which might be temporary or permanent in some cases.
Let’s have a look at some of them:
• First of all high heels will continuously pinch on your heels while you walk which isn’t a great feeling when you are working
• High heels put too much pressure on the heels that will end you up in foot pain at the end of the day
• If the ball of the high heel slips off in any case then you have chances of twisting your ankles easily
• The pressure exerted by the high heels will carry the pain from the foot to the calf muscles and then to the spine after a certain period of time
• So, having spine problems can end you up in some gruesome conditions like slip disc, bending of the spine to the left and right side of the body, etc.
So, do you really wanna end up yourself into any of the mentioned ailments?
Not really, right?
Therefore, I have come up with a solution wherein you can enjoy the benefits of logger boots while eliminating the pain from it!
Can you trim the heel on logger boots:
Sometimes it’s not that easy to just trim the heels on your logger boots because you might come across some of the following problems:
-
-
- The heel is hollow from within so it’s not possible to just slice off some inches from it
- You might not have the proper tools needed for the process
- Lack of proper knowledge of the process can ruin your boots completely
-
So, it’s always a good idea to take your logger boots to the cobbler or the shoe shop and get a replacement of the heel if you have any issues with the heels.
Ways to trim the heels on logger boots
If you are confident enough and have the time and really wanna do it yourself, the following ways will help you to trim the heels correctly:
1. Replace the high heels with new shorter heels:
Tools needed:
-
-
- New pair of short heels
- A knife
- A scrapper
- Show glue
- Some weights
-
The process:
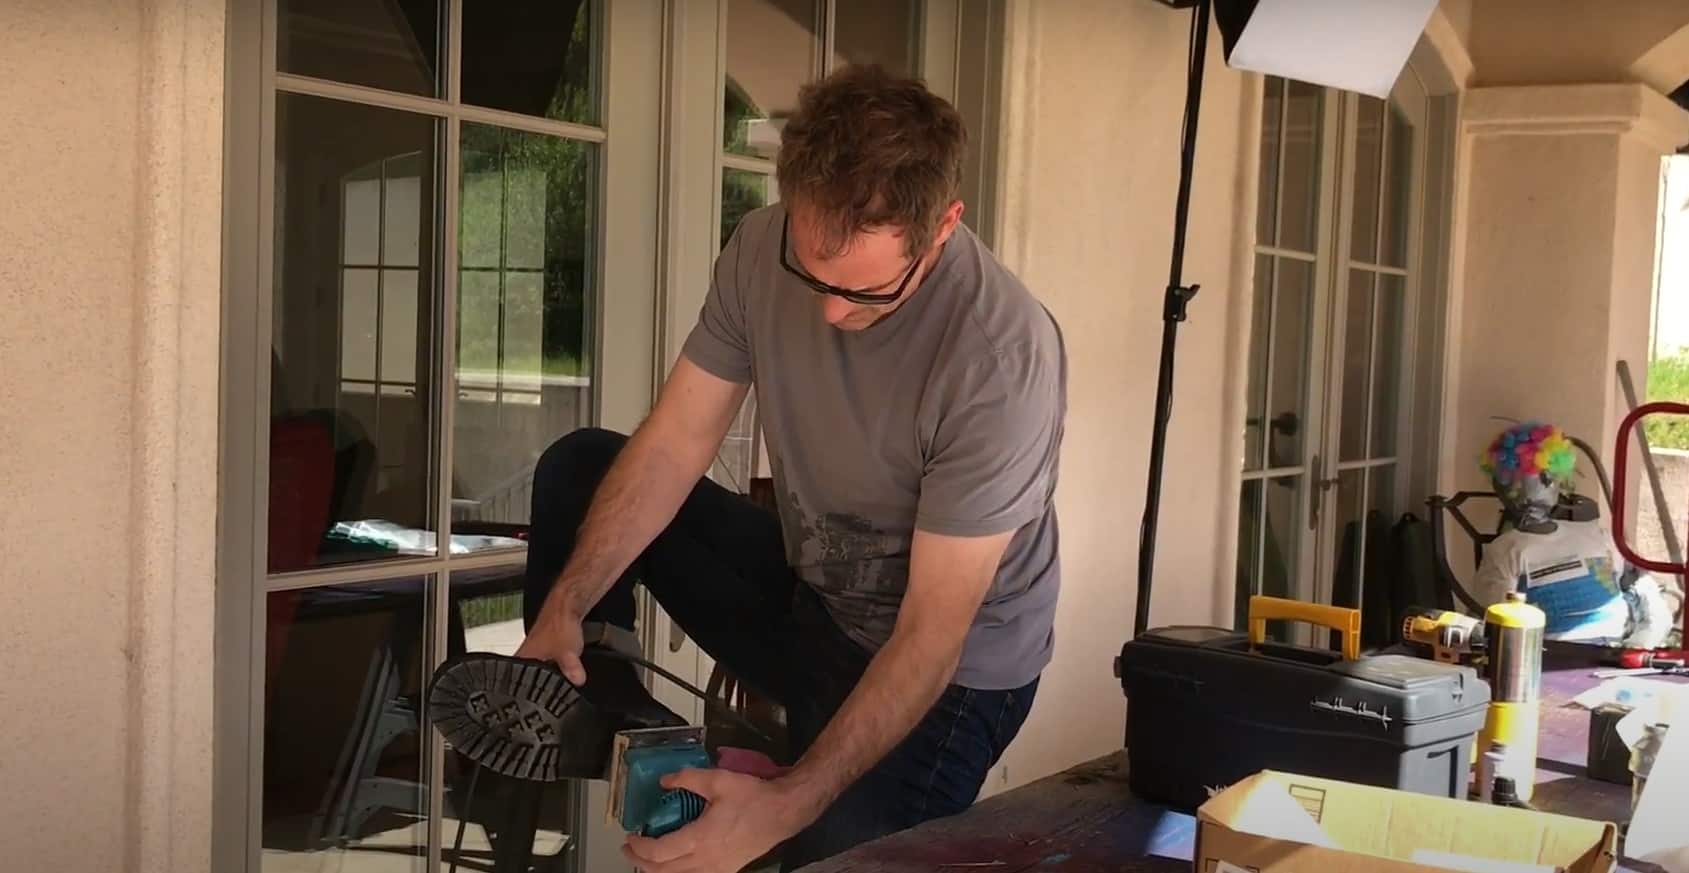
• Take the knife and take out the old high heels entirely, minding to keep the outsoles intact
• Use the scrapper or the sandpaper to even out the heel area
• Put the glue on the heel area of the boots
• Put glue to the base of the new heels as well (the part that needs to be attached)
• Let the glue semi dry
• Now take the new heels and paste them on the boots, putting enough pressure with your hands and holding them for minutes
• Not take the weights and put them over the heels so that the heels get set on the boots
• Let the glue dry completely
• Your logger boots are ready with shorter pair of heels
2. Replace the outsole entirely:
Sometimes it’s not easy to just take off the heels from the outsoles because they are not attached to the outsoles separately but are a raised part of the outsoles itself. So, in that case you need to replace the entire outsole.
Tools needed:
-
-
- A new pair of outsoles with shorter heels
- A knife
- Sandpaper
- Glue
- Some weights
-
The process:
• Take the boots and take out the outsole completely with the help of the knife. Be careful so that you do not disturb the insole at all
• Use the sandpaper to even out the base of the boots
• Paste the glue on the base of the boots
• Paste the glue on the base of the new outsoles as well
• Let the glue semi dry
• Now paste the new outsole to the boots and press with your hands for a considerable amount of time
• Put the weights on the outsoles so that they hold form to the boots
Voila! You are done!
And it’s a wrap!
In case the outsoles are stitched to the uppers of the boots, you need to take out the stitches first and that can ruin your boots completely if you do not know to stitch them back again. So, in that case too, it’s better to take your boots to the cobbler or the shoe shop!
Hope this article was helpful to you. If so, please do stay tuned for more such helpful posts.
Till then, take care and have a great day ahead!