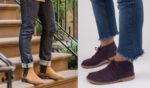

 When we walk on the road, the part of the boots that gets most rubbed against the rough surface of the road is the heel of the boots.
Also, the heel is the part that withstands most weight of the body.
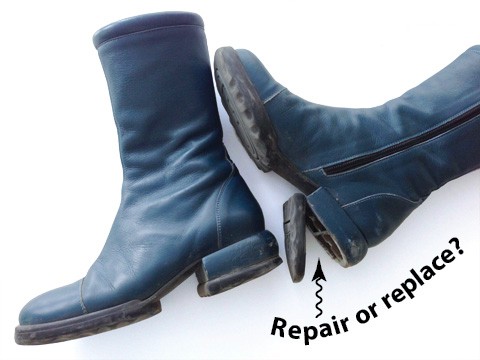
So, the very first part that gets damaged in your boots is the heel.
After prolonged walking, you will see the heel either with holes in it or completely worn out.
In this article, today I am going to tell you all about how to tackle this situation i.e. how to fix worn out heel of your boots.
I will illustrate all the methods step wise so that you can get a clear view of the methods.
Let’s begin:
4 Methods to Fix the Heel of the Boots
At first you need a tool kit for the purpose, which should contain:
| ITEM | NEEDED |
| Pliers | 1 |
| Boot heel nails | – |
| Barge all purpose rubber cement | 1 |
| Contact glue or adhesive | 1 |
| Sand paper | – |
| Skived leather | – |
| Hammer | 1 |
| Boot polish
Replacement soles New pairs of heels |
1
– – |
1.) Replacement of the Old Heel with a New One
Step 1: Removal off the old worn out heel:
Using pliers first take out the boot heel nails from the old boot. Then remove the old heel by pulling it backwards.
Step 2: Making off the surface smooth:
Now take a sand paper and make the rough surface of the boot smooth where the old heel was placed. This will take some time and hard labor.
Step 3: Building of the heel back up:
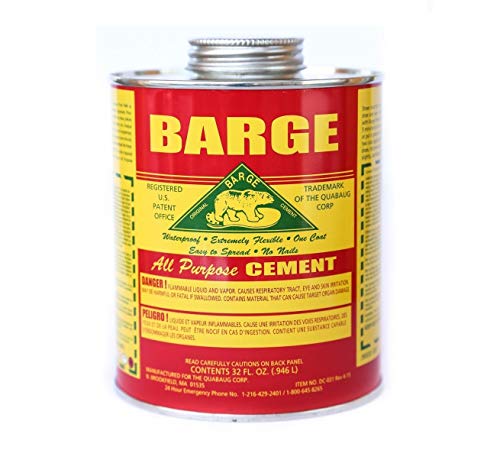
Take the adhesive, you can use the Barge All Purpose Cement and paste the skived leather part on the heel area where the boots have been worn out or rubbed off extremely. Again using the smoothening paper make the leather surface smooth.
Step 4: Adding the new heel:
Now place the new heel on the boots above the leather piece using boot heel nails. Hammer the nails firmly onto the boots. Make sure the nails don’t protrude inside the boots and hurt your feet.
Step 5: Finishing up the task:
Once again take the sand paper and give a final touch to heel and the leather part from the sides. At last take boot polish according to the color of the new heel and color the parts.
You are done with the heel insertion!
2.) When the Top Lifts of the Heel Block is Damaged
Step 1: Pull off the top lifts:
First using the pliers take out the top lifts or the heel pads.
Step 2: Use of sand paper or belt sander:
Then using the sand paper make the surface smooth. This is done to ensure that that no earlier glue is stuck on the surface of the heel and it flattens out the surface to fit in the new top lifts proportionately.
Step 3: Use of contact glue to stick the new top lifts:
Now put two coats of the glue on the new top lift and the heel and keep them for 10-15 minutes. Now paste the top lifts on the heel.
Step 4: Finishing up:
Again using the sand paper make the sides of the heel smooth so that the top lift takes the exact shape of the heel and no part of the top lift is seen hanging out from the ridges of the heel.
Polish the shoes up using your favorite boot polish and you are good to go guys!
3.) If the Sole is New but is Coming out of the Heel or is becoming Loose
Step 1: Use of pliers:
Using a pliers pull apart the sole as much possible from the heel. You have to pull backwards.
Step 2: Use of adhesive:
Take contact glue and apply it on the sole and the heel of the boots and let dry for 10 minutes. Then press the sole firmly onto the heels and hold for a minute.
Step 3: Use of cobbler’s nails:
Using a hammer, hammer the nails into the sole so that the sole gets firmly attached to the heels.
4.) When there is a Hole at the Bottom of the Sole or Heel
➢ You can simply use sole adhesives for this purpose.
➢ Just fill in the holes with sole adhesive and let it dry for 10-15 minutes.
➢ Then take a sand paper and even out the surface and you are done.
See also: How to Repair Tear in Work Boots?
Before we say Good Bye:
The more your heels are worn out the more it shows that you love to walk in your boots and obviously you do not want to get a new pair just for the worn out heel.
And definitely you will not have to get a new pair when you now know that replacing your old heel is so damn easy.
Do let us know in the comment section below how excited you are to try these methods or are you the one who relies completely on the cobbler for the same.
Till then…
Take care and…
KEEP WALKING!