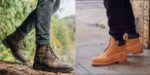

 We all know that the longer we wear our work boots, the more comfortable they are. But with time, they tend to get cracks, tears and holes in them because of which they sometimes start to leak.
But wait, have you already decided to throw them away? Before you take that harsh step, we have got a perfect guide to repair that tear in your boots.
The torn area of the boots can be sealed from inside using a broad and strong cello tape and then applying strong shoe glue like Shoe Goo, Gorilla Glue and can be later on smoothened using a sandpaper. This way you can effectively fix the tear by yourself.
This article is all about educating you about what you need to do to fix torn work boots because that’s something you should know if you are using work boots on a daily basis.
How do you fix the tear in work boots?
All you need to do is follow the simple guide step by step for getting a mind blowing result.
What You Need?
-
-
- A leather repair kit
- Rubbing alcohol
- Some cotton swabs
- Old newspapers
- A clean cloth
- Scissors
-
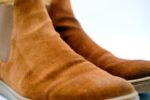
Method 1 : To repair the torn leather boots
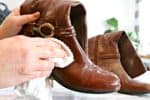
Step 1: Using a damp cloth just clean your boots. Make sure you remove all the loose dust and dirt stuck within them.
Step 2: Take a cotton swab and dip it in rubbing alcohol, clean all the torn and damaged areas in and around.
Step 3: Now comes the turn of unpacking the leather repair kit. From it, take out the backing material and cut a piece in a shape matching the tear. However, the piece should be larger than the size of the tear.
Step 4: Look out for the ragged edges. If the sides are uneven, trim them very carefully using a scissor.
Step 5: Take out the leather adhesive from the kit and match it with the shade of the boot.
Step 6: Place some of the adhesive on the backing material or patch and place it underneath the tear firmly.
Step 7: Apply some adhesive on the tear, filling it completely until it is in level with the edges and allow it to dry.
Step 8: One you are done with this step, dip a fresh cotton in rubbing alcohol to blend the adhesive equally into the edges of the tear. Apply some pressure while doing so.
Step 9: Lastly, polish your shoes to get a nice finish.
Method 2: To repair tear in your regular work boots
Step 1: First and most important step is to clean your boots as usual.
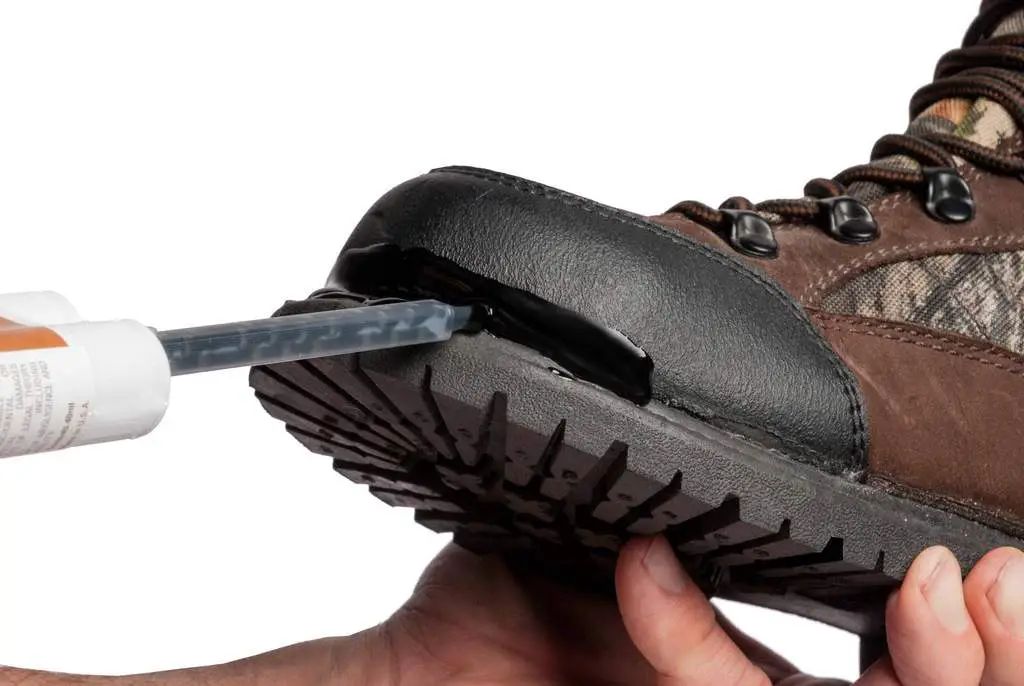
Step 2: Using a strong and broad cello tape, seal the holes or torn area before applying the shoe glue to the torn patch.
Step 3: Seal the desired area with strong adhesives like Locatite or any other glue. Make sure to equally spread the adhesive on the surface of the work boot. You can use an ice cube to evenly spread the glue.
Step 4: Once the glue is fully dry, remove the tape from inside the boot and cut off or erase any excess material using a paint thinner.
Step 5: Smoothen the new glue patch with water and sandpaper. Stuff it with newspaper balls and let it dry overnight.
See also: Does Gorilla Glue Work On Rubber Boots?
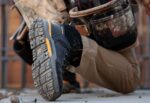
Repairing holes in leather soles
It’s not just the upper of your boots that needs to be repaired. Sometimes, the soles of the work boots also undergo wear and tear.
So how do you fix that? Well, it isn’t hard at all! It’s simple and can be fixed in a similar way to prevent water and stones from entering the boots.
-
-
- Clean the sole of your boot and remove the insole.
- Using a duct tape, completely cover the hole.
- After you are done covering, use an adhesive like Shoe Goo to fill the hole properly.
- Allow the glue to dry thoroughly before wearing and you are good to go.
-
See also: How to Fix a Hole in a Rubber Boot? (Step By Step Guide)
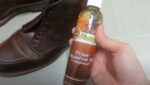
Best Shoe Glue Available in the Market
We have picked the top three shoe glues available in the market for you so that you can wear your favorite boots for some more time.
1. Shoe-Fix Shoe Glue
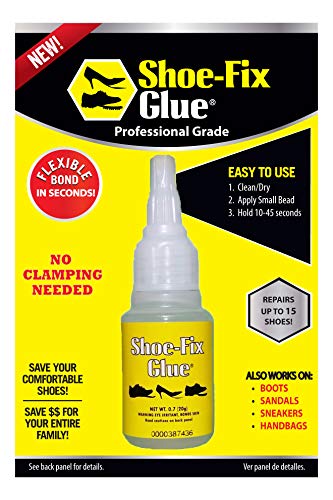
- Not just regular super glue! Its what the professionals use.
- Professional strength and flexible shoe glue that bonds almost instantly with no clamping!.
- Re-attach your sole with confidence.
- Formulated to use on all footwear materials, especially rubber and vinyl footwear.
- Specifically formulated to create a lasting bond.
Prices pulled from the Amazon Product Advertising API on:
Product prices and availability are accurate as of the date/time indicated and are subject to change. Any price and availability information displayed on [relevant Amazon Site(s), as applicable] at the time of purchase will apply to the purchase of this product.
Features
-
-
- Used by the professionals that’s why it has got the name “Super Glue”.
- Has got impressive strength and flexibility that allows instant bonding without any chance of clamping.
- Doesn’t expand or thickens like other glues.
- Remains unaffected by heat, cold or moisture.
- The glue is formulated to be used on all types of footwear materials, especially rubber and vinyl.
-
2. Shoe Goo Repair Adhesive
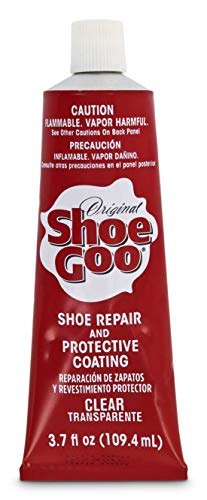
- Shoe Repair and Protective Coating for Leather, Vinyl, Rubber or Canvas
- Bonds, protects and rebuilds for a permanent repair
- Excellent sealant – Perfect for patching Small holes
- Waterproof – Bond remains secure even when exposed to Water
- Creates extra traction – can even be used on skateboards
- Sof Sole
Prices pulled from the Amazon Product Advertising API on:
Product prices and availability are accurate as of the date/time indicated and are subject to change. Any price and availability information displayed on [relevant Amazon Site(s), as applicable] at the time of purchase will apply to the purchase of this product.
Features
-
-
- Made in USA
- Helps create a protective coating for leather, vinyl, rubber or canvas.
- Bonds, protects and rebuilds the surface of work boots for a permanent repair.
- Remains unaffected by water- Waterproof
- Quite an impressive sealant as it is perfect for patching small holes.
- Helps create extra traction.
-
3. GEAR AID Shoe Repair Glue

- Make long-lasting repairs and seal leaks on hiking boots, running or climbing shoes.
- This durable urethane adhesive, previously known as Freesole, bonds permanently to soles and heels.
- Superior abrasion resistance makes Aquaseal SR ideal for creating toe protectors on work boots.
- Compatible with all types of footwear including leather, suede, rubber, neoprene, canvas.
- Packaging may vary
Prices pulled from the Amazon Product Advertising API on:
Product prices and availability are accurate as of the date/time indicated and are subject to change. Any price and availability information displayed on [relevant Amazon Site(s), as applicable] at the time of purchase will apply to the purchase of this product.
Features
-
-
- Make long lasting repairs and seal leaks on work boots
- Bonds permanently to soles and heels and is very durable.
- Dries as clear and flexible rubber that won’t peel or crack over time.
- Comes with superior abrasion resistance which makes it ideal for creating toe protectors.
- Compatible with all types of boots including leather, suede, rubber or Gore-Tex
-
Final Thoughts
Boots can be expensive and when you replace them you definitely put strain on your pocket. That is why it becomes essential to know certain repairing hacks which can make your boots last longer.
I hope through this article you have learned the tactics of saving your boots. So are you ready to get on with your repairs?