
Don’t know exactly what does heat pressing mean?
Man! You are just in the right place then…
As today in this article I am going to explain all you need to know about how to heat press safety vests, but before that I am going to start with what heat press means actually.
Heat press involves printing designs on to the safety vests under a certain temperature, pressure and time settings. Different settings are used for different cloth materials and different types of designs. The heat press materials include fashion films like the non-fluorescent ones, 3M Reflective and fluorescent letters, etc.
Safety vests are very delicate to handle because a single mistake in any of technical and maintenance application on them can do away with the fluorescent colors and the reflective tapes. And once done, it can’t be undone and your safety vests would be of no use further.
Heat pressing is not an easy task. Before starting with the process, you need to learn about the process in details as it includes many techniques and temperature settings for various types of cloth materials.
Hold on! Did I scare you with my words?
Don’t be…
Instead just read on to know more about the process in details and once you have done so, things will get easier for you. So, let’s begin?
What is a Heat Press?
The process of heat press actually allows you to print logos or designs on any apparel (in this case a safety vest). Different companies have different logos and to make sure to which company you belong to.
It’s necessary to use a particular logo on the safety vest you are wearing indicating that you are a worker of that particular company. Now, the heat press process uses 3 fundamental aspects:
-
-
- Temperature
- Time
- Pressure
-
The game is to learn the exact settings of these three aspects for the particular cloth material. In other words, heat press involves different settings of these three aspects on different cloth material like cotton, polyester, reflective, glitter, glow in the dark or fluorescent, resilient apparels, metal-like finish, white colors, dark colors, etc.
Heat press temperature and time settings for different materials:
| Materials | Temperature | Time |
| Reflective materials | 305 degree F | 10 seconds |
| Resilient apparels | 330 degree F | 10 seconds |
| Glow in the dark | 300 degree F | 12 seconds |
| Stretch | 330 degree F | 15 seconds |
| Woolens | 370 degree F | 10 seconds |
| Polyester | 270 degree F | 10 seconds |
| Cotton | 380 degree F | 15 seconds |
| Full color | 300 degree F | 10 seconds |
| Glitter | 350 degree F | 15 seconds |
| Antique look | 350 degree F | 10 seconds |
| Metal-like finish | 320 degree F | 10 seconds |
| White colored | 380 degree F | 30 seconds |
| High definition | 305 degree F | 5 seconds |
| Dark colored | 360 degree F | 25 seconds |
Nowadays different heat press machines are available in the market with digital timers in order to adjust the time and temperature settings for making it easier to set the desired temperature.
You just need to read the user manual given along with the heat press machine to know the working precisely.
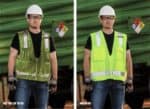
See also: Best Class 2 Safety Vests for Men and Women
How to Heat Press Safety Vests?
Safety vests are generally made of polyurethane based material, which are very shiny and glossy and have reflective striping on them.
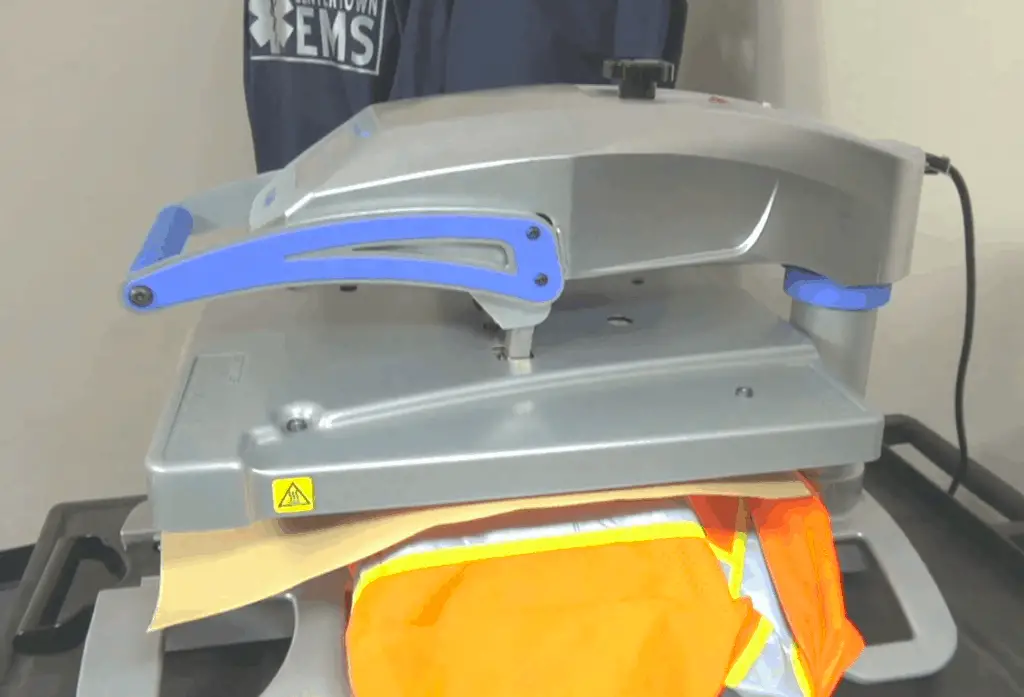
Heat press for printing logo or design on the fluorescent material:
1.) Locate the area of the safety vest where you intend to make the design or the logo
2.) Un-zip the safety vest
3.) Place the required area to be printed on the machine
4.) Next place the print pad to build up the layer from underneath
5.) Heat press to remove creases first
6.) Place the fashion film (heat transfer material) on the desired area of the safety vest
7.) Now heat press the design on to the safety vest for 2 seconds
8.) Once done, remove the liner and the design would be printed on the safety vest
![]()
Heat press for printing fluorescent writings on black part of the safety vest:
1.) Locate the area of the safety vest where you intend to make the design or the logo
2.) Un-zip the safety vest
3.) Place the required area to be printed on the machine (in this case the black part)
4.) Next place the print pad to build up the layer from underneath
5.) Heat press the area to remove the creases first
6.) Place the fashion film (heat transfer material) (in this case fluorescent letters) on the desired area of the safety vest
7.) Now heat press the design on to the safety vest for 10 seconds
8.) Once done, remove the liner and the design would be printed on the safety vest
Other heat transfer materials are:
3 M Reflective (320 degrees for 15 seconds)
I am sharing the following videos from YouTube so that you can get a clear view of the working process with the heat press:
Why heat press?
Using heat press you can customize your safety vests to make:
-
-
- Logos of the company
- Worker name
- Company name
- Reflective designs
- Symbols indicating the category of work
-
Printing the above mention tags is necessary as it gives the impression to the person seeing the worker as to which company and which category of work he belongs to.
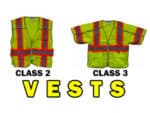
See also: Best Class 3 Safety Vests for Work
Before we say Good Bye:
That was all about heat press on safety vests.
It is not possible to carry the heat press process without the machine and the experts, yet it is always better to know things in detail which you use on a daily basis.
But you can too purchase a machine and get along with the heat press process at home if you are pretty confident after learning the techniques. Who knows after all this might end up being your career if you prove to be really good at it! LOL but no LOL! HAHA!
Well that’s all for today’s article guys. We are just a click away from our next article.
Take care, stay safe and…
Work safely!