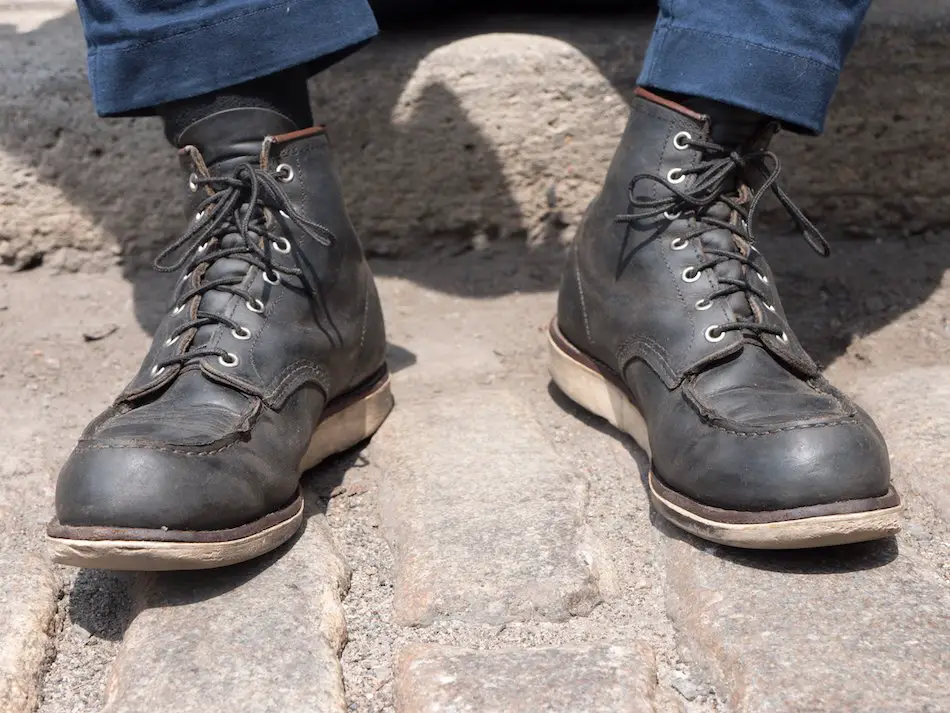
We all are fond of new and shiny leather boots but with constant wear, they become dull and weak. There are many instances where the boots develop creases which can ruin the appearance of your footwear and can potentially lead to rips and tears.

But the real question is, when these leather work boots are marketed for their durability, why do they crack after a certain point?
Aging and improper care of the boots are two main reasons that your boots develop cracks from time to time. With constant use, the surface of your boots gets deprived of its protective layer and the moisture present in it begins to dry up. So, if you don’t restore this moisture, there are high chances that your boots will keep cracking.
So, what are the major steps to repair these cracks? This is a perfect guide to teach you how to get rid of the creases in leather boots step by step and bring it back to its former glory.
Why does leather crack?
We all know that leather comes from adaptable animal skins and hides and that is why it is a bit non uniform with some flaws. The story doesn’t end here.
The natural leather has pores that easily trap dirt and oils and thus making the leather surface prone to cracks. These irritants also degrade the dye and texture of your boots making them discolored.
While dirt and oils affect the looks of your leather boots, lack of moisture is another culprit which affects the strength of leather.
When you expose your boots to a dry environment, their moisture gets sucked which initially gives rise to creases which later turn into cracks.
These damages caused to your boots not only make them uncomfortable but also diminishes their strength to protect your feet from falling objects.
How to fix the cracked leather?
Let me tell you a fact, the cracks which develop in your leather boots are irreversible and cannot be brought back to original form.
But you can recondition the leather and can indeed increase their lifespan. So, we have come with some easy steps to fix the cracks to some extent.
Follow them and you can successfully blend in the damage caused.
Cleaning off your Boots
1. Brush off the mildew you see on your boots
The first and foremost step is to remove all the dirt present on the surface of the leather including mold and mildew. While you are removing the mildew make sure you are out in the sun to prevent the spores from settling inside your house.

Once you are outside, take a soft bristled brush or a clean dry cloth and rub it vigorously to remove the spots. If these spots are hard to remove you can just dampen the brush or cloth or towel in warm water.
An alternative to a shoe brush is your old toothbrush with the help of which you can easily say goodbye to the spots.
2. Wipe out all the thick layer of dirt accumulated on the leather surface.
Take a cotton cloth or a scrub brush of good quality and dampen it in the lukewarm water.
Remove the laces and insoles of your boots.
In circular motion, wipe your entire boot inside out from top to bottom removing all the dust and lints.
Make sure that the cloth or brush that you are using isn’t too wet otherwise the leather surface of your boots might get ruined.
There should be light coating on the material that you are using to clean, it doesn’t do any harm and also helps the cleaner.
3. Use a leather cleaner to restore the damage
Saddle soap can do wonders when it comes to restoration of the cracked leather. Just follow these steps:
Take a shoe dauber or a cotton cloth and scrub it over the shoe in circular motion. As you’ll progress, you’ll notice the leather getting lighter shades. This is because the lather removes excessive dirt and moisture.
Repeat this step until the leather starts to feel a bit flexible.
Make sure the cleaner that you are using should not contain lye as it is quite hard on leather.
Use a dry cotton or microfiber cloth to wipe out the cleaner. Use it in circular motion until all the cleaner gets cleaned. If you are using saddle soap as a cleaner then another option is that you can keep it overnight and then clean it.
Repairing the cracks on the surface
Once you have removed all the dirt from your boots, it’s time to treat those ugly visible cracks. For this you just have to follow these steps:
1.) Pick all the old newspapers or rags and stuff it completely in your boots to hold their shape. Make sure you leave very little or absolutely no space.
Filling your boots with towels or newspaper not only absorbs excessive moisture but also maintains their form while you work.
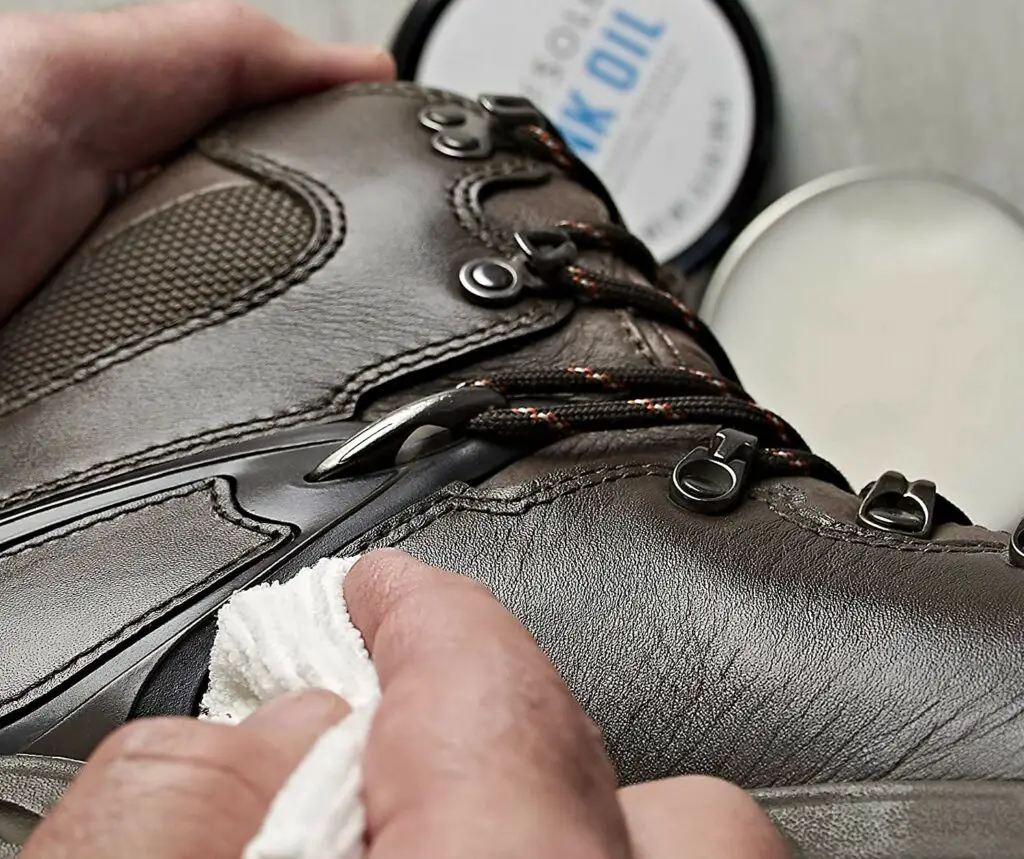
2.) Next comes the step where you have to rehydrate the leather using certain moisturizers. Most people recommend Mink Oil or Neatsfoot Oil for this process. You might need an applicator brush or cotton cloth for the application because most of the moisturizers are liquid.
While applying make sure that you take the moisturizer to the cracks first and then push it down into them
3.) You can slightly heat the leather using a space heater or blow dryer after coating. This step helps absorb the oil in the leather surface.
After covering the cracks, start focusing on the other areas of the boots.
This is the superficial treatment that you give to your cracks. For winning the full battle you have to fill the filler compound into the cracks. These water based acrylics are used for medium to deep cracks.
-
-
- Apply the fillers only to the affected area.
- After this leave your boots for at least 30 minutes for the fillers to cure.
- Buff the boots using a horsehair brush or 220 grit sandpaper with steady pressure for perfect blending.
- For restoring the uniform colour of your boots, polish them to hide the filler patches.
-
How to prevent leather from cracking?
I am sure you have learnt the easy ways of tackling the cracks. But as I mentioned earlier, you cannot get rid of them. So that leaves us with the option of saving our boots from cracks with these four simple ways.
Keep your boots as clean as possible. Brush off all the dirt regularly from your boots after use. Don’t neglect the seams and creases.
Keep hydrating the leather from time to time using moisturizers and conditioners. Polish your boots by wiping them with a shine cloth.
Remove creases from patent leather using castor oil. If your boots have got patent leather and have already started developing creases then beware because this type of leather is most prone to form cracks.
Apply a light coat of castor oil on the surface to unsettle the creases before they make home in your boots.
Always keep your boots away from heat and let them air dry.
Final Thoughts
We buy leather boots with all our heart and can’t see them getting damaged. But in reality, the fact is leather is prone to occasional scuff or cracks.
However, you really don’t have to worry about it because restoring its lustre is easy if you know the proper tactics.
I hope after reading our article, you are confident enough to save your boots by fixing them with the above mentioned steps.


